How to Set Up Obfsproxy on Mac
In this tutorial we will show you how to set up Obfsproxy on Mac with CactusVPN servers but first let’s see what are our requirements.
Requirements
In order to set up the Obfsproxy you will need:
- A CactusVPN account. If you don’t have one you can try our services for free.
- Your VPN username and password. You can find them in your account on our website, by going to Settings -> VPN Username & Password.
- The Tunnelblick plug-n-play VPN client. If you don’t have it installed on your computer, just follow our tutorial to install it.
Install Homebrew, wget and tar
-
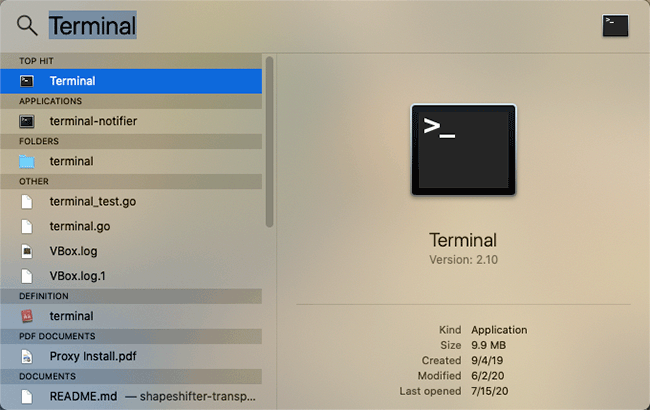
Open Terminal.
Press cmd + spacebar, type Terminal in the search field, then click Terminal.
-
Type the following in the Terminal window:
/bin/bash -c "$(curl -fsSL https://raw.githubusercontent.com/Homebrew/install/master/install.sh)"
Press Return and enter your password.
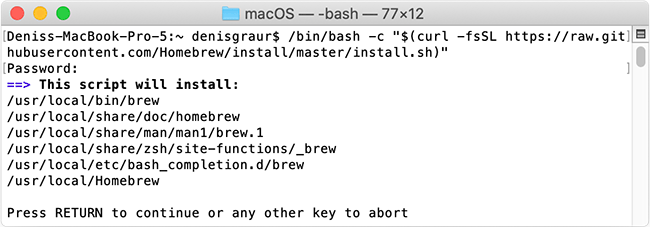
Press Return again.
Install gnu-tar and wget
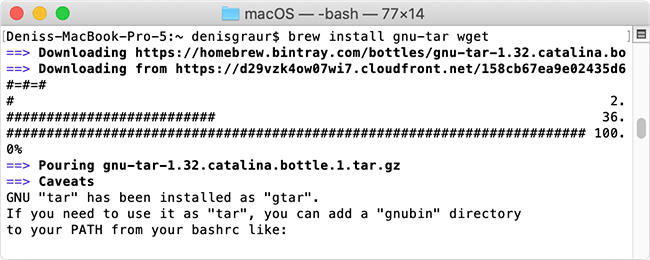
Type the following in the Terminal window:
brew install gnu-tar wget
Press Return.
Download and configure the shapeshifter-dispatcher client
In order to be able to obfuscate the VPN connection, you need to download, run and configure the shapeshifter-dispatcher command line proxy tool.
-
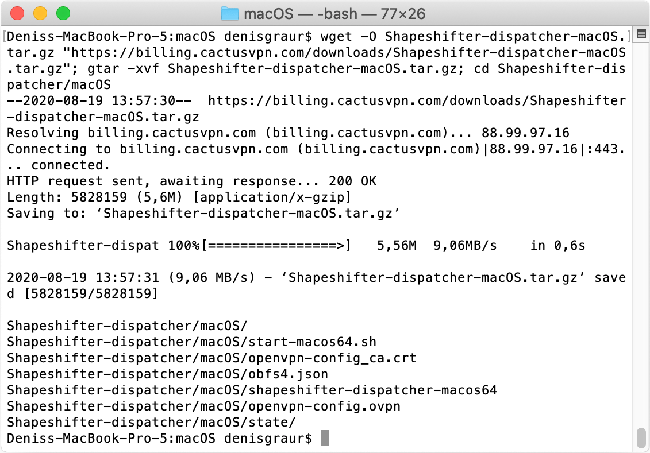
Type the following in the Terminal window:
wget -O Shapeshifter-dispatcher-macOS.tar.gz "https://billing.cactusvpn.com/downloads/Shapeshifter-dispatcher-macOS.tar.gz"; gtar -xvf Shapeshifter-dispatcher-macOS.tar.gz; cd Shapeshifter-dispatcher/macOS
Press Return.
-
Type the following:
sudo su
Press Return, enter your password and press Return.
Now we will set up which VPN server will be obfuscated.
Type ./start-macos64.sh followed by the IP address of the VPN server you want to use. For example:
./start-macos64.sh 95.211.174.168
Press Return.
You can find the whole list in Settings -> VPN Servers in your account on our website.

This will start the local client running in transparent TCP proxy mode and obfs4 transport which hides OpenVPN traffic.
Don’t close this window as long as you need to be connected to VPN.
Run and configure the Tunnelblick App
To use obfuscation, you need to connect to VPN using the Tunnelblick app.
If you don’t have it installed on your computer, just follow our tutorial to install it.
-
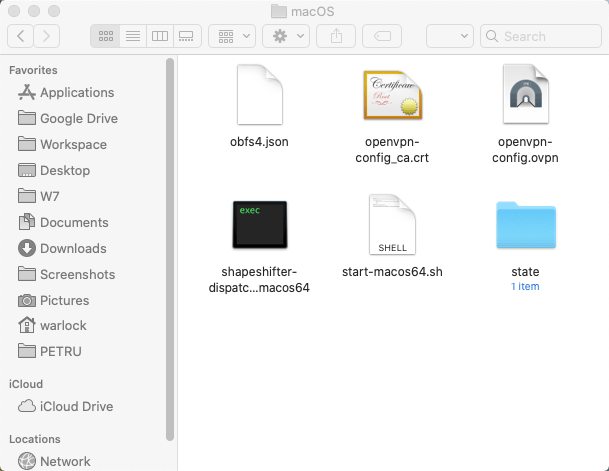
Press cmd + shift + h to open your user folder in Finder. Go to /Shapeshifter-dispatcher/macOS/ folder.
-
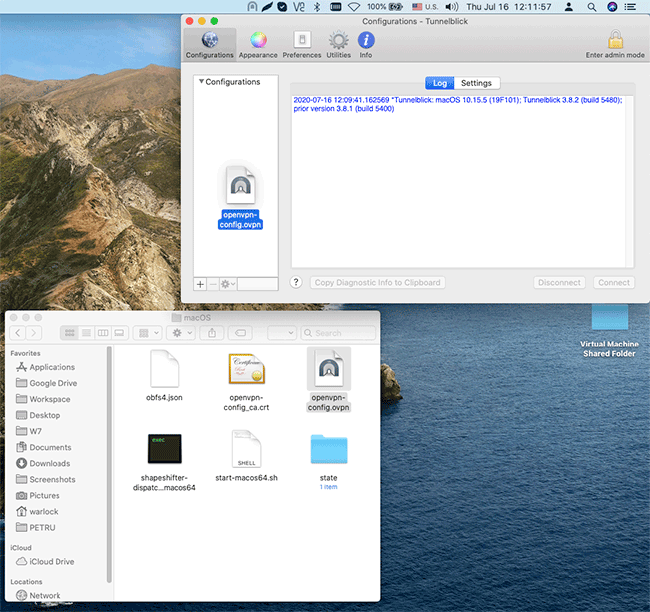
Click on Tunnelblick app icon and click VPN details…

-
Import the openvpn-config.ovpn file to Tunnelblick by by dragging it to the Tunnelblick app.
-
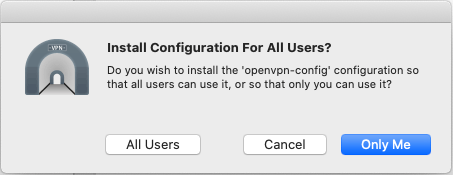
Click All Users.
-
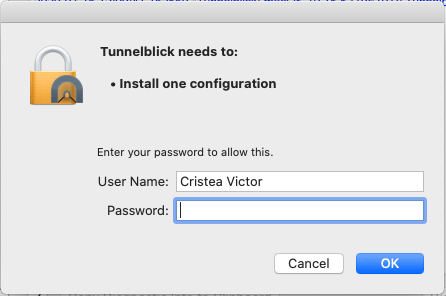
Type your Mac password and click OK.
Connect to the Obfuscated VPN server
Now, the only thing left to do to have an obfuscated VPN connection is to actually connect to the VPN server using the Tunnelblick client.
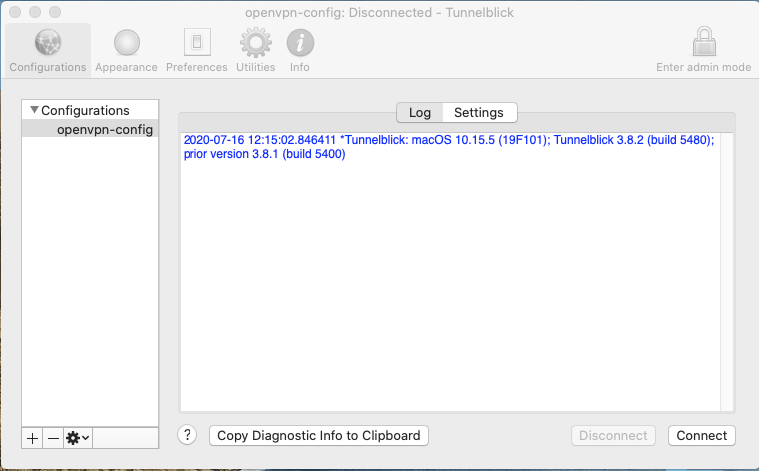
In Tunnelblick, select openvpn-config and click Connect.
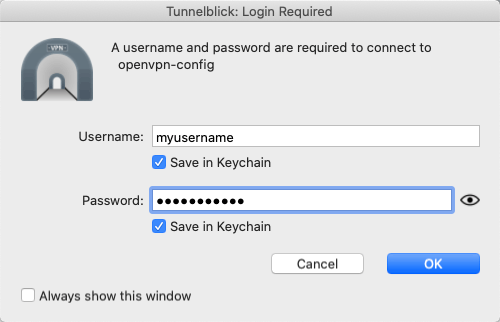
Enter your VPN username & password and click OK.
You can find your VPN username and password in your account on our website, by going to Settings -> VPN Username & Password.
The obfuscated VPN connection is established.
To disconnect, click on Disconnect in Tunnelblick.
To disable Obfsproxy, press cmd + c in the Terminal window.
VPN and Smart DNS Services
Protect online privacy, secure your connection and access blocked websites
Try CactusVPN For Free