How to set up Smart DNS on WD TV
Go step-by-step through following instructions to set up Smart DNS on WD TV.
-
Validate IP Address
If you have already validated your IP address go straight to the second part of the tutorial (II)
-
Sign in to your Client Area.
-
Go to Packages.
-
Select a Smart DNS package or a VPN package with Smart DNS service included.
-
Click “Validate IP” button (1).
If you see the “Validated! No actions are required.” message, go straight to the second part of the tutorial (II).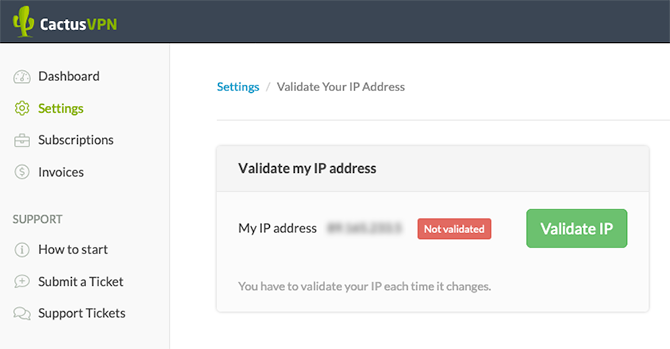
Remember! If your Smart DNS service is not working, just try to validate your IP address again by following steps 1 to 4. You have to validate your IP address each time it changes.
Alternative method: You can also validate your IP quickly via Validate IP Link (2). Using this method you do not have to sign in to Client Area each time you need to validate the IP. Add this link to your browser favorites/bookmarks and your IP address will be validated every time you load this URL into your browser. Important! Do not share this link! It is unique for every CactusVPN client. If you share it, other people will have access to your Smart DNS service and you will not be able to use it.
-
-
Change your WD TV DNS server addresses
This has to be done only once.
It is important to save your original DNS settings before making any changes. You might need them in case you will want to switch back to your original settings.-
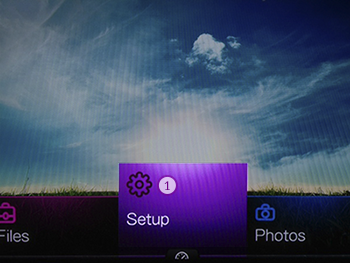
Go to Setup (1).
-
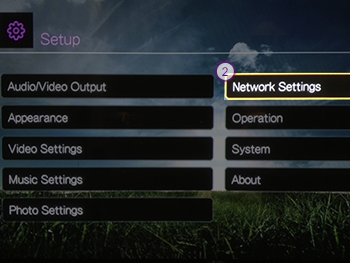
Select Network settings (2).
-
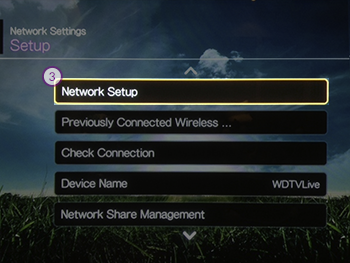
Go to Network Setup (3) and select your Wired or Wireless connection.
-
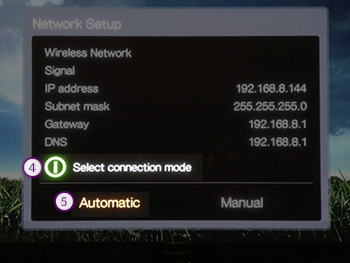
Under “Sellect connection mode” (4) line select “Automatic” (5).
-
Wait until WD TV obtains IP address and other settings from the router (if it can’t, then find connection problem and try again).
-
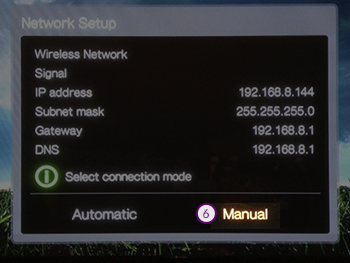
Go again Setup > Network settings > Network setup and select “Manual” (6).
-
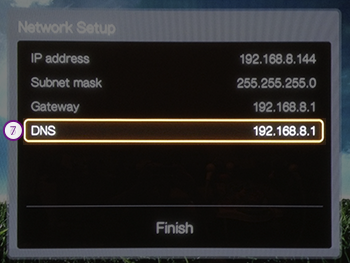
Scroll down to DNS row (7) at the bottom and press “Enter”.
-
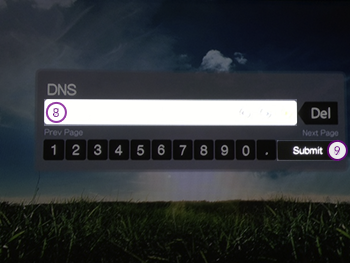
Enter DNS Server addresses (8). You can find it on our website, in the Client Area -> Packages -> your Smart DNS package or your VPN package that support Smart DNS service. Press “Submit” (9) > “Finish” > “OK”.
-
Turn off device with power button on the remote. Wait 10 seconds and turn it back ON.
-
That’s all!
Popular tutorials like this
Interested in Smart DNS for WD TV?
VPN and Smart DNS Services
Protect online privacy, secure your connection and access blocked websites
Try CactusVPN For Free